Dreams - Step by step
7/01/2014
As a self-taught photoshopper, I thrived on the tutorials various artists post online. So figured I'd share a little bit on how I go about creating the things I create.

Individual step-by-step images under the cut.
 |
| Basic conceptual & compositional sketch |
 |
| Base image, lower half is a photo and the spiral portion is illustrated |
 |
| Added the background (textures downloaded from cgtextures.com) |
 |
| Some dodging & burning to determine light source |
 |
| Base Plant (downloaded from cgtextures.com) |
 |
| More plants |
 |
| added flowers |
 |
| Added the bud at the end of the spiral & illustrated vines and extra plants |
 |
| More highlights and shadows to add depth, added the glow at the bud |
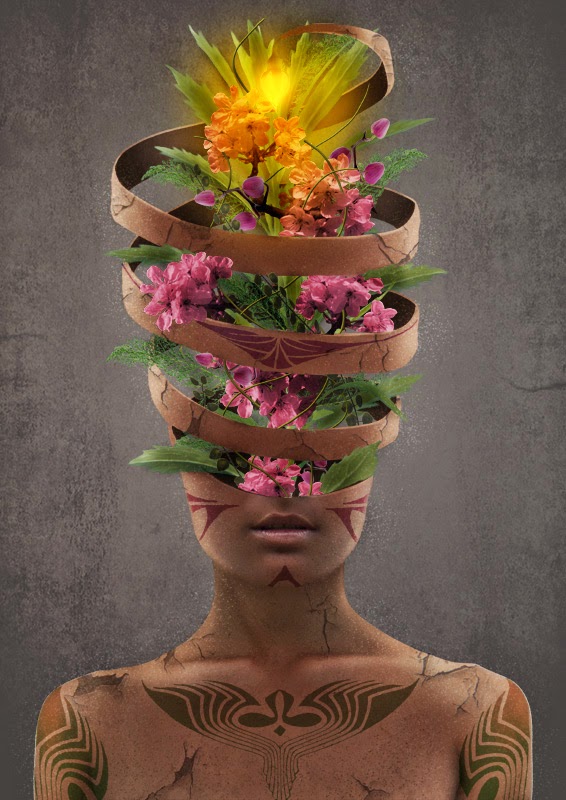 |
| Applied tattoos on skin & the cracking effect |
 |
| Added stronger highlights at the edge & humming birds (downloaded from morguefile.com) |
 |
| Added smoke |
 |
| Desaturated the colours (Now that I look at this again, I almost like this version for the final) |
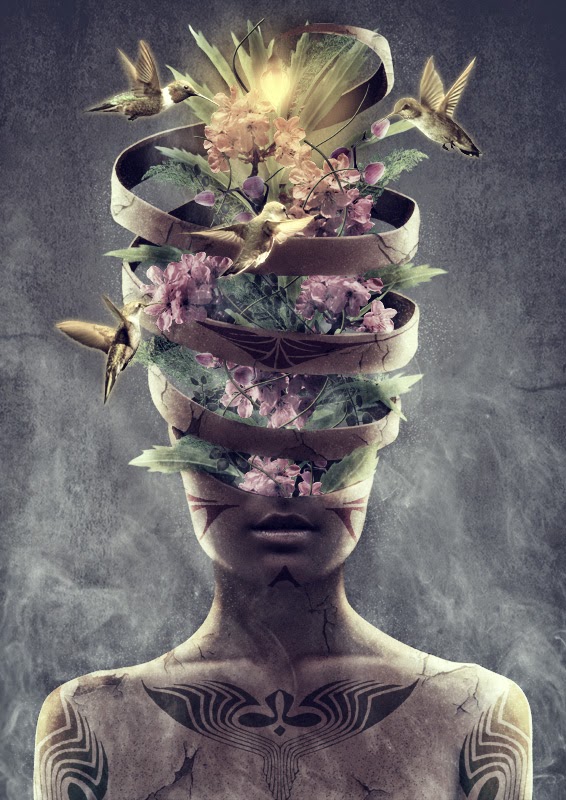 |
| More colour alterations... and done :3 |
Hope this serves as an eye-opener to how I edit my stuff. The final version w/ closeups can be seen here.


0 comments